Setting Up Pi-hole to Block Ads on Our Whole Network
By Ryan Hurd · Published Oct 12, 2026
I finally set up Pi-hole at home. It's a network-wide DNS sinkhole, which means it quietly drops requests to known ad and tracking domains for every device on the network, with nothing to install on any of them. I'd been meaning to do it for a while, and it turned out to be one of the easier projects I've done.
The setup
I didn't buy anything new. I already had an HP PC that's on most of the time, so I made a small virtual machine on it in VMware running Ubuntu. Pi-hole needs very little, so the VM got 1 CPU, 1 GB of RAM and a few gigabytes of disk.
The one thing that tripped me up was networking. The VM has to use a bridged network adapter, not NAT. With NAT it sits behind the PC and nothing else on the network can reach it. Bridged gives it its own address on the home network. I also reserved that address in the router so it never changes, because if the Pi-hole's IP moves, every device loses DNS at once.
The install itself was the official one-line script from pi-hole.net. It asked a few questions (network interface, upstream DNS provider, whether to install the web interface) and I took the defaults, picking Google/Cloudflare as the upstream. After that I changed the DNS server in my router's DHCP settings to point at the Pi-hole, and the whole house was covered as devices renewed their connections.
One tip: don't add a second "backup" DNS server in the router. Devices will happily use it and skip Pi-hole.
Blocklists
Pi-hole comes with one default list, and it's a good start. After a few days I added some more from list recommendations on reddit.
After adding lists you have to update gravity (pihole -g, or the button in the web interface) so it downloads and merges them.
More lists isn't always better. Each one raises the chance of blocking something you need, so I add them one at a time and watch for problems.
What broke (and the fix)
A few things stopped working at first, which is normal with Pi-hole, but I was able to go in and modify the settings easily to get them working again.
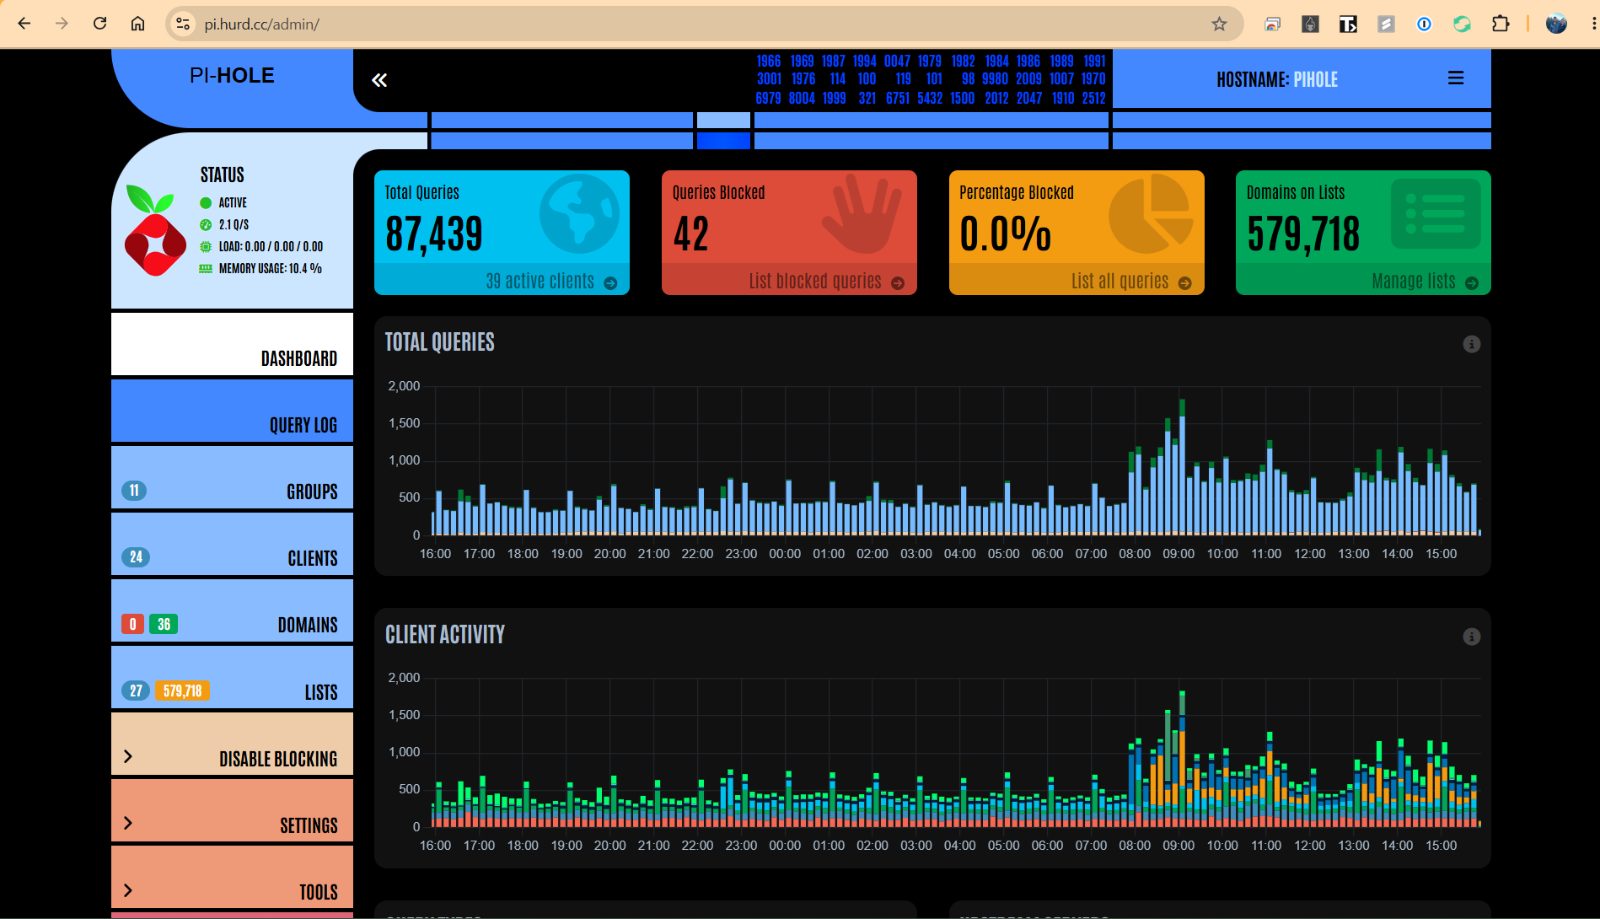
The Query Log is the most useful part of Pi-hole. Anything that breaks, you can see exactly what was blocked and undo it in seconds.
Reaching Pi-hole from anywhere
I didn't want to be stuck on the home network to check on Pi-hole, so I set up a tunnel on Cloudflare using cloudflared. It runs on the same PC as the Pi-hole VM and connects out to Cloudflare, so I didn't have to open any ports or touch the router's port forwarding.
I pointed pi.hurd.cc at it, and now I can open the Pi-hole admin page from my phone or any browser when I'm away. I can check query stats, whitelist something that's breaking a site, or pause blocking without being home.
Since that puts the admin page on the internet, it's protected by Pi-hole's own sign-in, so you need to log in before you can see or change anything.
Running it in a VM
It works well, but there's a tradeoff. DNS now depends on that PC being on. If it restarts for updates or the VM isn't running, the whole house loses internet until it's back, which looks like an outage. I set VMware to start the VM automatically and set the PC not to sleep.
A Raspberry Pi avoids that. It uses a couple of watts, runs around the clock, and does one job, so it's a good fit for Pi-hole. If I were starting from scratch I'd buy one. Here's the Raspberry Pi I'd get (affiliate link).
Shop this post
The links above are affiliate links -- I may earn a commission on qualifying purchases made through them, at no extra cost to you.
You might also like
Comments
Loading comments...